![]()
Moore Family
of Arizona


|
Moore Family
|
|
|
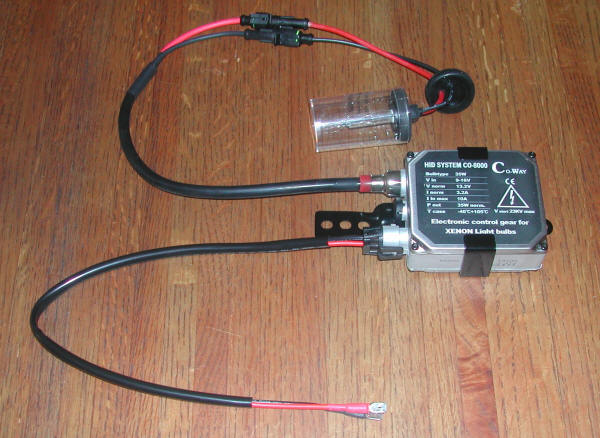
HID Fog-Light Conversion & Euro. Fog Config: I added genuine High Intensity Discharge (HID) lamps to my fog lights for use as additional driving lights (and possibly in the future as daylight running lights). I swapped these to the European configuration (meaning they stay on when the high-beams are on) because otherwise the HIDs would have to re-ignite every time I switch back to low-beams (this would cause additional stress but also diminished lighting for about 8 seconds each time). This is accomplished by simply swapping a relay for a relay bridge The HID system I purchased combined the ballasts & igniters into a single unit so installation was relatively straight forward. It was necessary to bore a new hole though the rear of the fog light rear housings and through the front cover behind it so a new rubber grommet can be installed. This seals well and creates no new structural issues, but some owners may be reluctant to do this. I mounted the igniter/ballast units to existing bolts on the inner fender wall. The HID bulbs are the same physical size as normal H3 bulbs but have thicker wiring due to the high voltage and the bulb disconnects are physically bigger. Routing these has to be done carefully.
The Components:
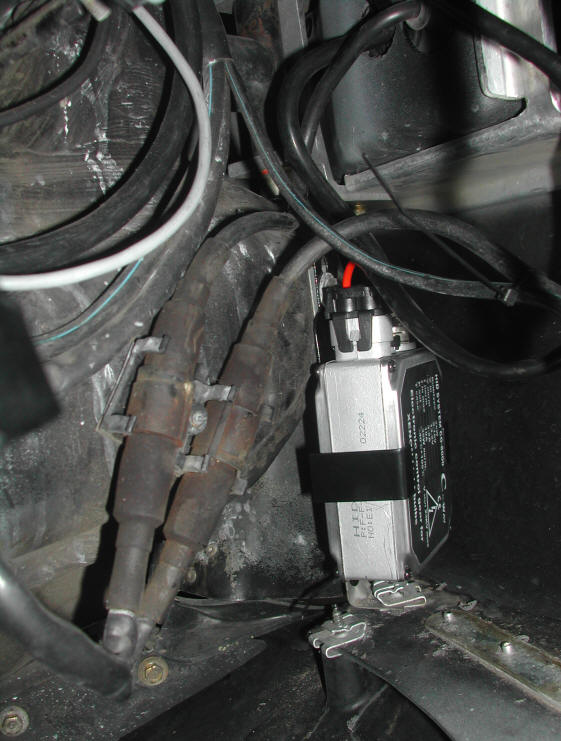
Mounting location inside the front fender on the inner fender wall - an existing bolt was used with the supplied clip(same both sides)
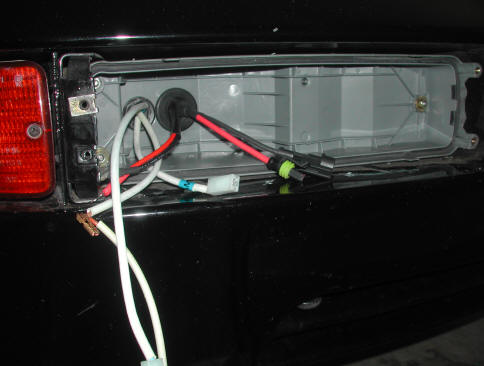
I chose to put the bulb disconnects inside the housing - much easier for bulb changes, but creates some space challenges. See the new (bigger grommet). The power-in lines come through the grommet too to the fog light connections.
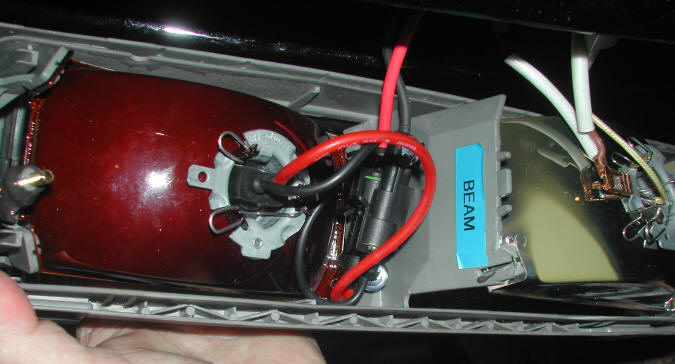
Front view with the lenses & reflector unit off - note new grommet lens unit with disconnects attached I attached the HID bulb disconnects to the housing with cable clamps to keep them better located during assembly - otherwise they end up interfering with the aim adjusters. These lights work very well... about 4 times as bright as stock at lower running power. You do need to adapt the low beam cut off shield since the HID bulb is often long enough its touching the shield - I installed rubber washers to set the bulb back into position. I also mounted matt blackout vinyl film to the lower edge of the reflector biased to the nearside orf the reflector to avoid as much reflected spill upwards on the off-side. This makes the lighting pattern still very wide but reduces the light thrown upwards which is otherwise excessive due to the much brighter bulbs. In doing this I needed to repair the aim adjusters several of which which had been damaged by the previous owner somehow...? These lights now add substantially to the low close in and wide pattern lighting - great as supplemental lights. I also modified the fog light controls to ROW configuration by swapping the secondary fog light relay for the ROW bridge - this provides for the front fog lights to stay on with high-beams. This makes for better supplemental lighting and also avoids the flicker & brightness loss when switching back to low beam due to the re-ignition & stabilization to 100% output delay
|
|
Copyright (c): Alan Moore 2006 - 2014
Page Updated:
12/16/2014
Page Views:
|